nabe
TRAMONTO Designer

Jump rope made with skin stitch

 スキンステッチで作る縄跳び

はじめに

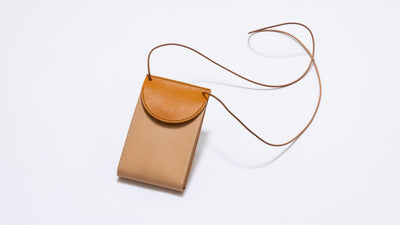
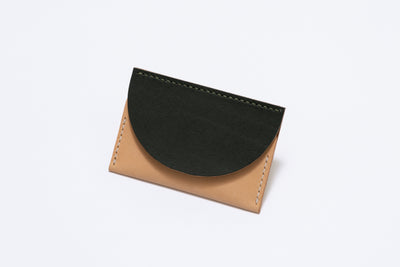
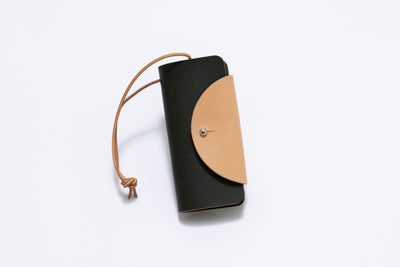
Beautiful patterns created by hand-sewing techniques.

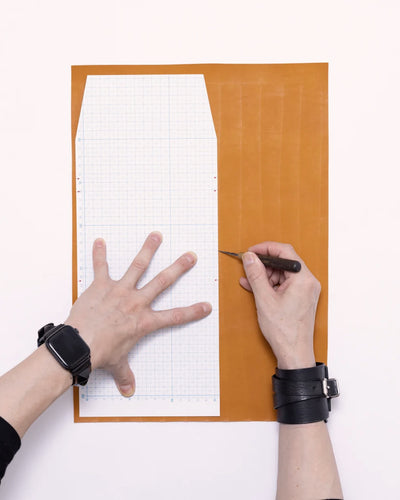
This jump rope is made by covering the handle with leather. When sewing the bottom, a technique called "skin stitching" is used, which is an application of shoemaking technique, and this part is the highlight of the technique.

It may be difficult at first because of the many hand-stitched parts, but this recipe is perfect for practicing your sewing skills. This is a great recipe for practicing your sewing skills, and we encourage you to give it a try to improve your skills.

レシピ

Jump rope made with skin stitchの作り方

型紙ダウンロード〔A3サイズ〕

※A3実寸サイズです。A3用紙に拡大縮小せずに印刷してください。


STEP.1

銀ペンで型紙をトレースします。

STEP.2

トレースした線に沿って革を裁断していきます。

STEP.3

「菱目打ち」で穴を開けるガイドとして、「バインダー」で端から3mmの部分に線を引きます。

STEP.4

ガイドに沿って「菱目打ち」で穴を開けます。

STEP.5

革の切れ端部分に「丸抜き(直径16mm)」を使って2枚円の革を抜きます。

STEP.6

端から3mm幅に「バインダー」で線を引きます。

STEP.7

線を引いた箇所に「掬い針」で穴を開けていきます。

STEP.8

中心部分に「丸抜き(直径6mm)」で穴を開けます。

STEP.9

円パーツとメインパーツを「1本針」で手縫いし、終わりは2回固結びして留めます。

STEP.10

持ち手の側面を「掬い針」で手縫いします。 はじめは斜めステッチで上部まで縫って、折り返し部分を「✕」になるように縫います。

STEP.11

半分より手前部分まで縫ったら、穴の開いた円柱木材を入れます。

STEP.12

木材を入れたら、覆うように最後まで縫い進めます。

STEP.13

革紐の長さを調整し、完成したパーツに通します。

<達人のポイントアドバイス>
結んだ紐の先端を持ち手に入れると仕上がりが綺麗になります。

STEP.14

両方に紐を通し、完成となります。


型紙ダウンロード〔A3サイズ〕

※A3実寸サイズです。A3用紙に拡大縮小せずに印刷してください。

作者プロフィール

nabe

He has 24 years of leather craft experience. After graduating from Bunka Fashion College, he went to Italy and started his career as a leather craftsman. While making shoes, he also started leather craft. In 2023, he moved his workshop to Fukushima. He specializes in lifestyle products such as shoes, chairs, and accessories.